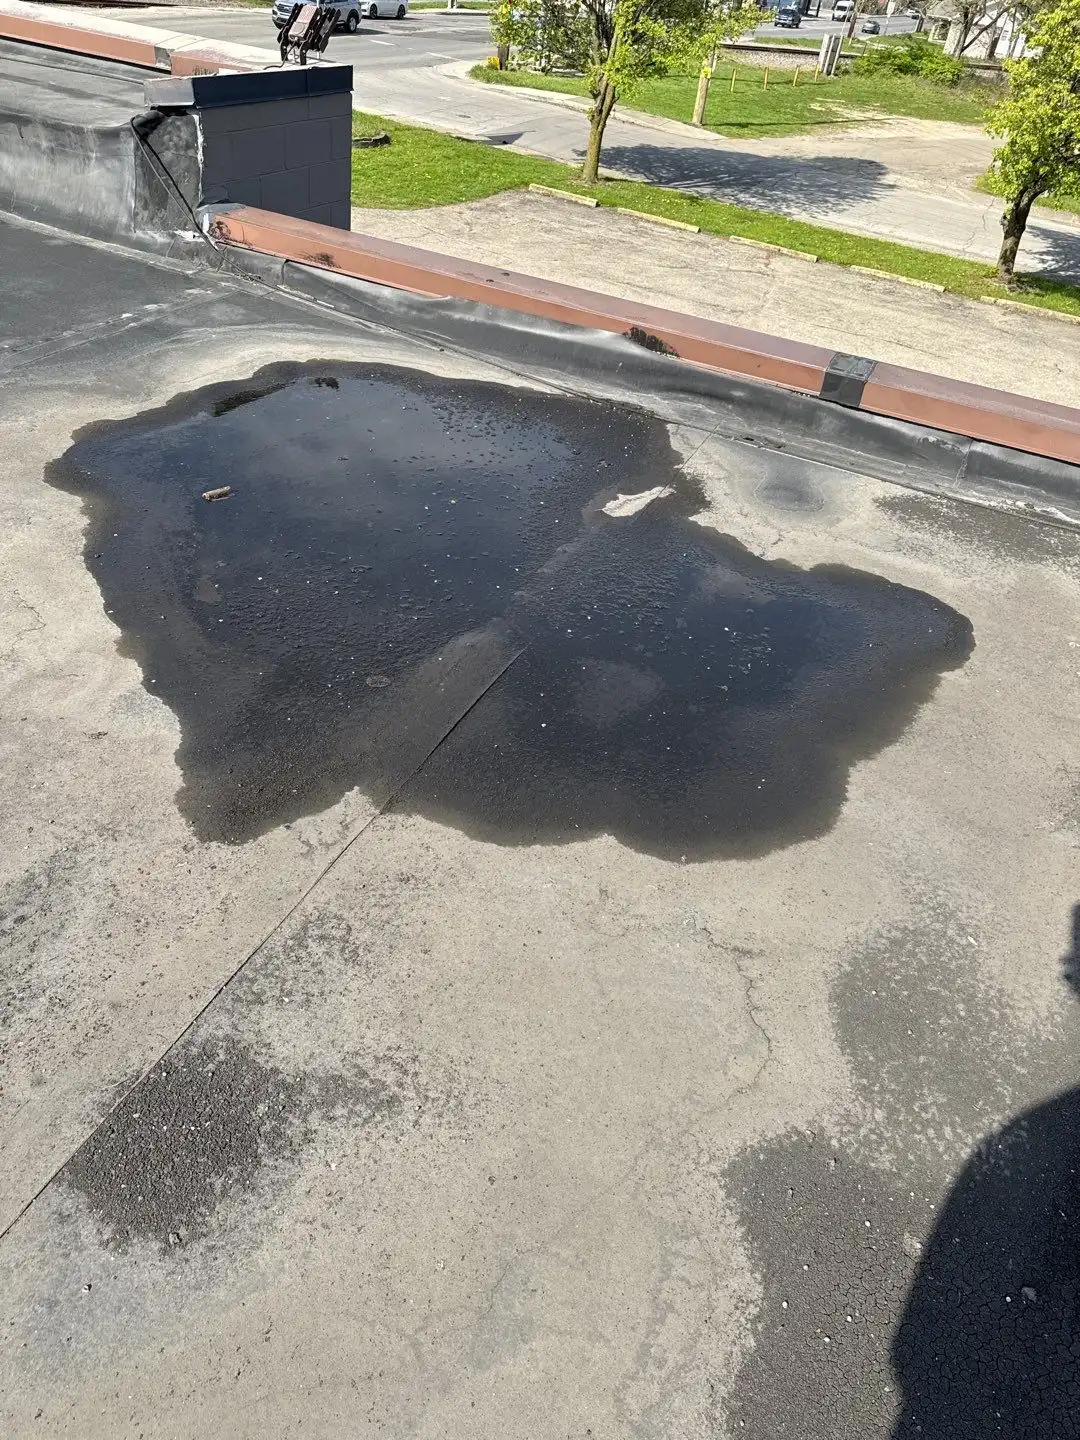
Step 1: Phone Triage and Severity Assessment
- Describe the active symptoms: visible drip, ceiling stain diameter, ponding location, or alarm from a leak sensor.
- Confirm roof type (TPO, EPDM, mod bit, metal, BUR) and approximate age.
- Identify business critical zones below the leak: server rooms, retail floor, food prep, document storage.
- If water is actively entering, we prioritize tarping and interior containment before scheduling the full inspection.
- Capture recent weather context: hail event date, wind gust estimate, snow load duration, or HVAC service that involved roof access.
- Request photos of the interior damage and, if safe, the rooftop area so the dispatcher can pre stage materials.
Phone triage typically takes 8 to 12 minutes and produces a severity rating from 1 (cosmetic) to 4 (active intrusion threatening operations). Severity 3 and 4 calls trigger a tarping crew dispatch in parallel with the inspector, so dry in can begin while the diagnostic work continues. St. John Commercial Roofing logs every triage call with a ticket number that follows the project through final warranty documentation.
Step 2: on site Inspection and Moisture Survey
- Visual perimeter walk: parapet caps, counterflashing, scuppers, drains, expansion joints.
- Field membrane check: seams pulled with a probe, fastener backout, blisters, splits, punctures.
- Penetration audit: HVAC curbs, vent stacks, conduit, skylights, gas lines.
- Infrared scan after sundown when deck temps differ from saturated insulation by 5 to 10 degrees F.
- Core cuts (typically 4 inch squares) at suspect zones to confirm insulation moisture content above 20 percent by weight.
- Drain flow test: pour 5 gallons at each primary drain and time the discharge to detect partial blockages.
- Capacitance meter sweep on a 5 ft grid over flagged areas to map the wet footprint without additional cuts.
Inspections run 90 minutes to 4 hours depending on square footage. This is a free service for St. John property owners, and our commercial roof inspection report includes photos, moisture map, and a written scope.
Commercial Repair Scenarios in St. John
- Hail bruising on EPDM: scan with chalk dust, mark every dimple, patch with 6 inch round target patches.
- Ponding near drains: add tapered insulation crickets at 1/4 inch per foot to redirect flow within 18 inches of the drain bowl.
- Wind lifted edge metal: re fasten with #12 ring shank at 6 inches on center, then reseal cleat lap with butyl tape.
- HVAC condensate staining: install secondary drain pan with 3/4 inch PVC routed to a roof drain, not the membrane field.
- Skylight curb leaks: replace gasket, add saddle flashing on the upslope side, weld in 9 inch wide reinforced corner patches.
Step 8: Water Test and Quality Check
- Flood test low areas to 2 inches for 24 hours where drains allow.
- Spray test vertical flashings and penetrations with a garden hose for 15 minutes per zone.
- Re probe all seams after cooldown.
- Walk the interior with the building contact to confirm no new staining.
- Electronic leak detection (low voltage scan) on critical zones such as data centers or clean rooms.
Step 9: Cleanup and Documentation
- Magnetic sweep of grounds for fasteners and metal scrap.
- Final photo set: before, during, after, with timestamps and roof location markers.
- Warranty document delivered (typically 2 to 10 years on repair, 15 to 20 years on full sections).
- If the inspection revealed end of life conditions across most of the roof, we discuss commercial roof replacement options with a separate scope.
- Digital project file shared with the property manager containing daily logs, material batch numbers, and welder calibration records.
Step 3: Scope and Written Estimate
- Define repair boundary in square feet, with a 12 inch overlap onto sound membrane.
- Specify wet insulation removal area and replacement R-value (typically R-20 to R-30 polyiso to match existing).
- List flashing and termination details with fastener pattern (commonly 12 inches on center at perimeters).
- Itemize labor, materials, crane or boom lift, disposal, and warranty term.
- Provide two prices when applicable: targeted repair versus section restoration.
- Note manufacturer warranty implications: an existing 20 year NDL warranty often requires certified installer participation, which St. John Commercial Roofing confirms before scope finalization.
Typical Commercial Roof Repair Ranges in St. John
Ranges reflect typical Central Indiana conditions, mid-2024 material pricing, and access difficulty.
Step 6: Substrate Repair and Insulation Replacement
- Sweep and vacuum deck. Spot prime steel deck rust with rust inhibiting primer.
- Install new polyiso to match existing R-value, staggered joints, mechanically fastened at 1 per 2 square feet.
- Add cover board (typically 1/4 inch high density polyiso or 1/2 inch gypsum) where specified.
- Verify all board edges butt tight, gaps under 1/4 inch, no thermal bridging.
- Fill voids over 1/4 inch with low rise polyurethane foam rated for roofing assemblies.
Materials and Equipment Standards
- Membrane: 60 mil minimum TPO or PVC for repairs on existing 45 mil systems, 60 mil matched on 60 mil systems.
- Fasteners: factory coated #14 or #15 with 3 inch plates, pull out tested to 400 lbs minimum on steel deck.
- Adhesives: low-VOC bonding adhesive applied at 60 sq ft per gallon two sided coverage.
- Sealants: single component urethane or manufacturer approved pourable sealer at pitch pockets, refilled to 1/2 inch above the pan rim.
- Welders: hot air robotic and hand units calibrated weekly, with test welds pulled at the start of every shift.
Step 4: Mobilization and Site Protection
- Stage materials in a low traffic area, on pallets, covered with breathable tarps.
- Set up debris chute or dumpster with curb protection (3/4 inch plywood under leg points).
- Post signage and cone off the drop zone below the work area.
- Notify tenants of crew access points and noise windows (typical work hours 7 AM to 4 PM).
- Confirm hot work permit requirements with the property manager when torch or kettle operations are scheduled.
- Verify rooftop fall protection anchors or install temporary tie off points rated to 5,000 lbs per worker.
Step 7: Membrane Installation
- Roll out new membrane with 6 inch minimum overlap, oriented perpendicular to deck flutes.
- Heat weld TPO or PVC seams at 900 to 1100 degrees F, 5 to 7 feet per minute travel speed.
- Probe test every seam, every 5 linear feet, with a cotter pin probe.
- Install termination bars and counterflashing with butyl sealant behind the bar.
- Reinstall pipe boots, drains, and curb flashing with target compression of 30 percent on gaskets.
- Apply T-joint patches at every three way seam intersection, minimum 4 inch diameter, fully welded.
Step 10: follow up Inspection
- Return visit at 30 days to verify seam integrity and drainage performance.
- Annual maintenance check recommended each spring after freeze thaw season.
- Provide drain clearing and minor sealant touch up at the annual visit.
- Re scan repair area with infrared during the first fall visit to confirm no new moisture migration.
Step 5: Demolition and Wet Material Removal
- Cut membrane back to dry, sound substrate using hook blades and straightedges.
- Remove saturated insulation in full board sections (typically 4 ft by 8 ft polyiso).
- Verify deck condition: steel deck rust under 10 percent surface area is acceptable, above that triggers deck repair.
- Document moisture readings on remaining substrate at 18 inch grid spacing.
- If active interior leaks are confirmed during demo, our emergency commercial roof repair protocol routes resources for immediate dry in.
- Bag and weigh wet insulation for disposal records, useful for insurance claims that reimburse by tonnage.